Add a Memo Field
Most times, donations are fairly straight forward. You select a fund and you complete the GivingFlow. From time to time, though, donors may wish to provide more detail along with their donation 📝 Some examples?
- 🌏 Giving to a specific team member for a missions trip. Rather than having each individual team member have their own fund, you can have one single fund for the missions trip, and the donor can add a name in the memo field to specify who they want their donation to go towards.
- 📚 Giving to a specific need within a ministry. Perhaps you have a ministry that is running low on supplies, and someone wants to donate money specifically to replenish those supplies, rather than just to the ministry in general. The memo field provides the opportunity to specify that.
- 💰 The memo field gives people the opportunity to ask that their donation gets split between multiple funds.
HOW TO ACTIVATE THE MEMO FIELD
In your Control Center, access your GivingFlow Design Settings by clicking on GivingFlow in your main menu bar and then Design. Or click here.
At the bottom of the page, enable the Memo Field switch on. Then click the Save my changes button.

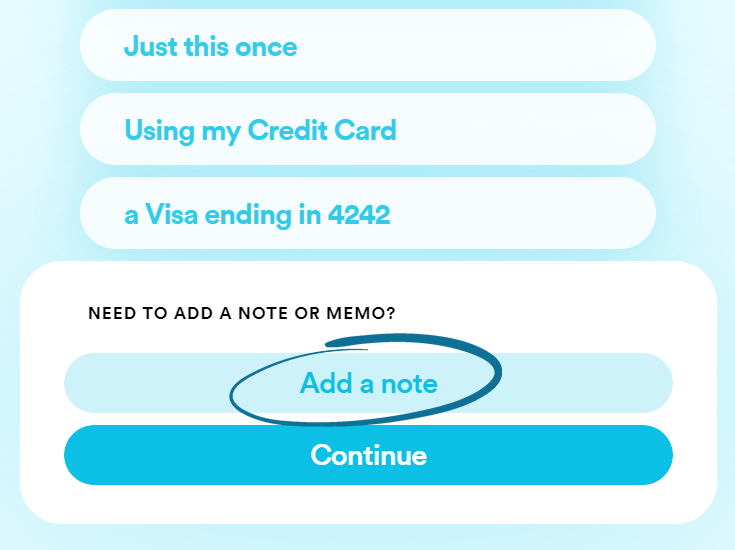
The memo field will automatically be added to the end of any GivingFlow 💌
HOW TO SEE A MEMO IN A DONATION
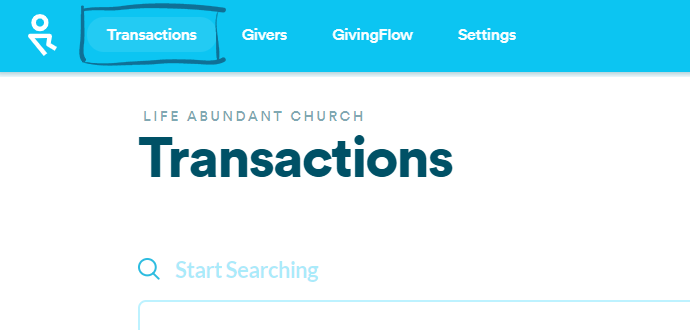
In your Control Center, select the Transactions tab in your main menu bar.
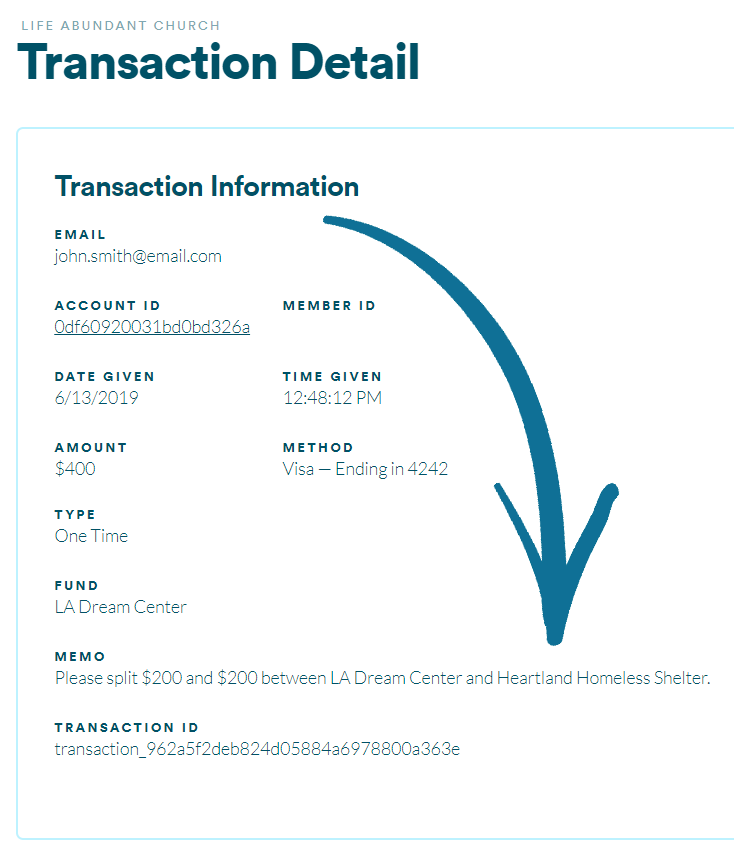
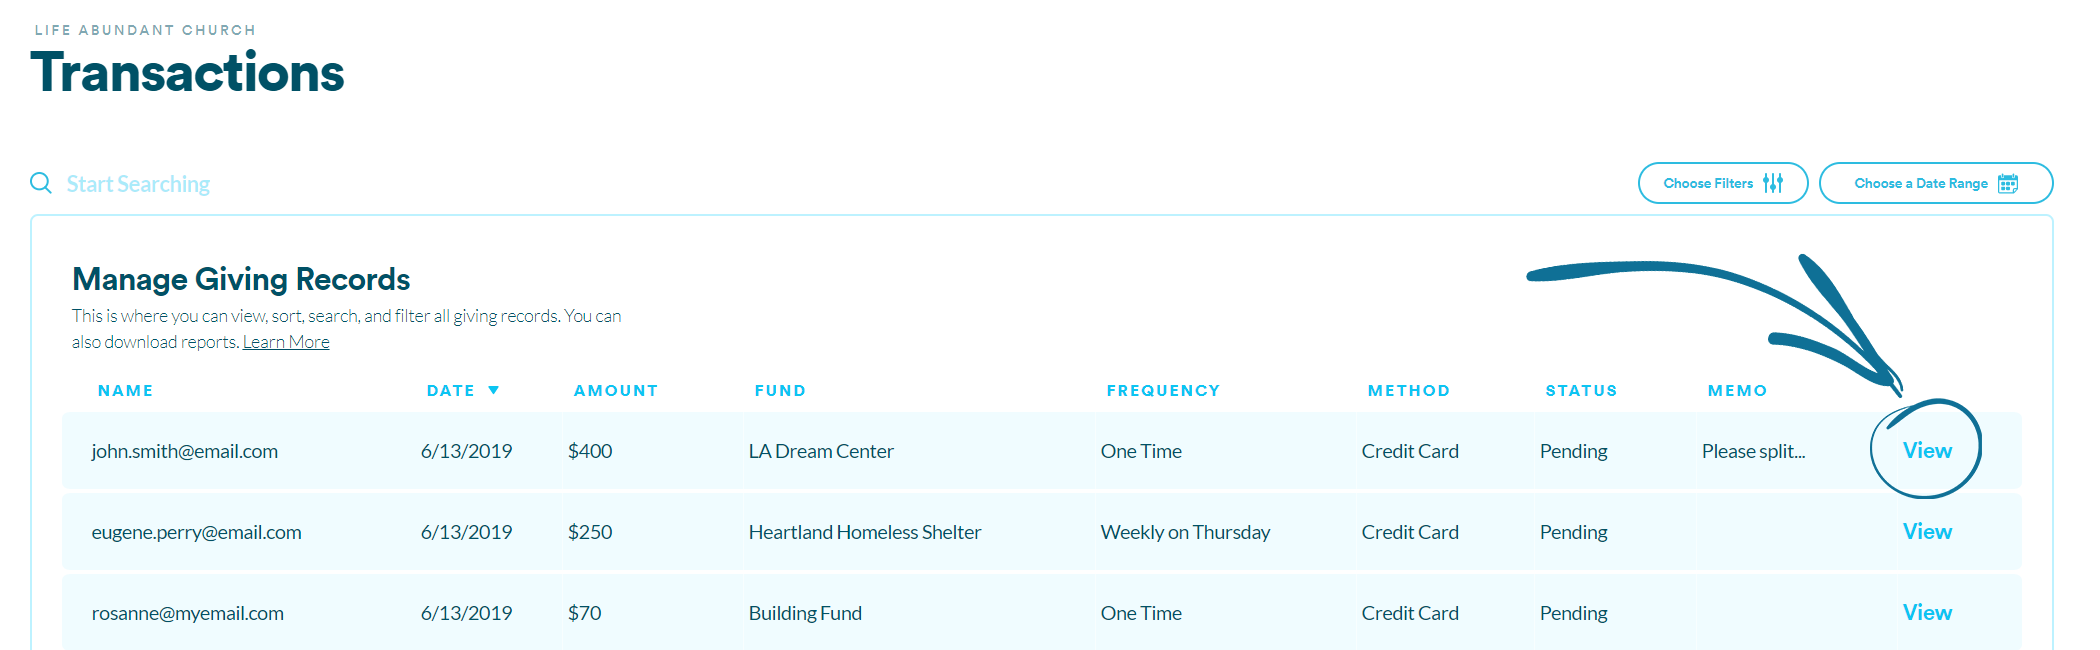
To see a memo, simply click View on a specific transaction. You'll know which transactions have a memo attached to them by checking under the Memo column on the far right.
The memo will appear at the bottom of the transaction's details.